Veeam® 12 Direct-to-Cloud Backups to IDrive® e2
Reduce the complexity of managing backups and minimize spend on new storage hardware: Backup your NAS systems directly to cloud object storage. Employ enterprise efficiency with all the benefits of IDrive® e2 hot cloud storage - price, scalability, security, and durability.
Add an object storage repository
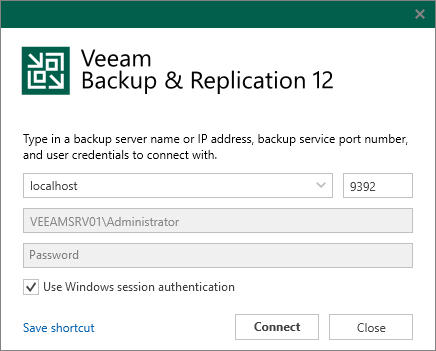
To add a backup repository on Veeam®,
- Launch Veeam® Backup and Replication 12.
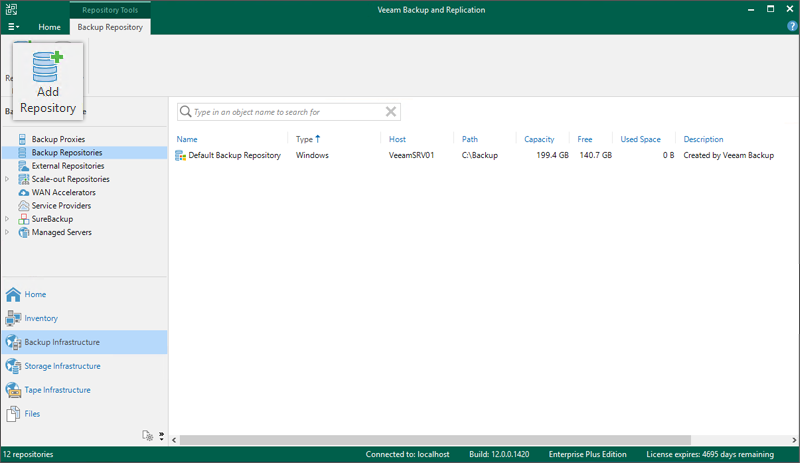
- Navigate to Backup Infrastructure > Backup Repositories and click Add Repository.
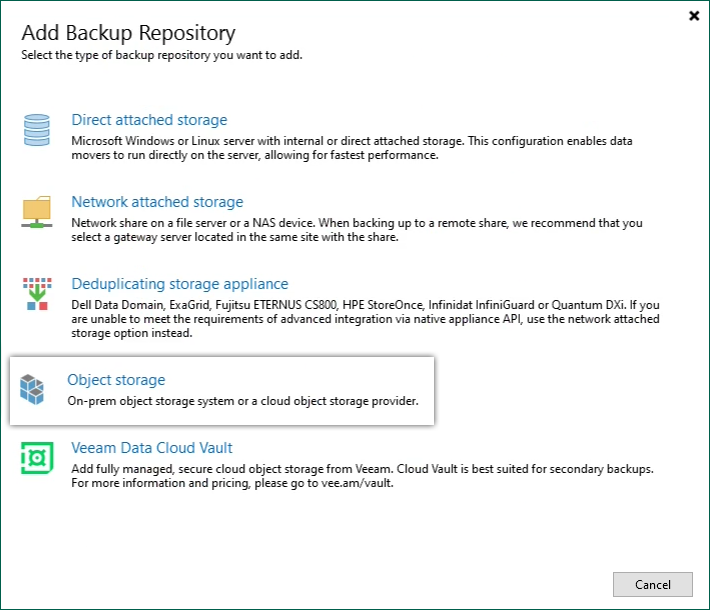
- Select Object Storage.
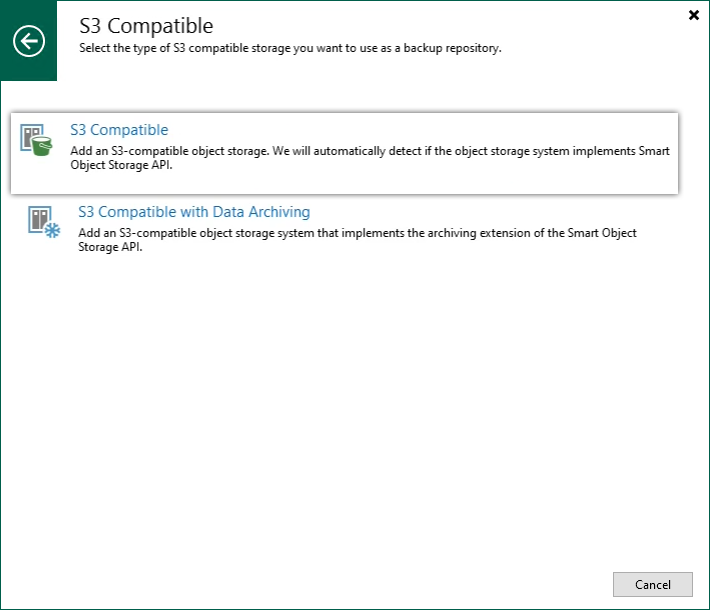
- Select S3 Compatible.
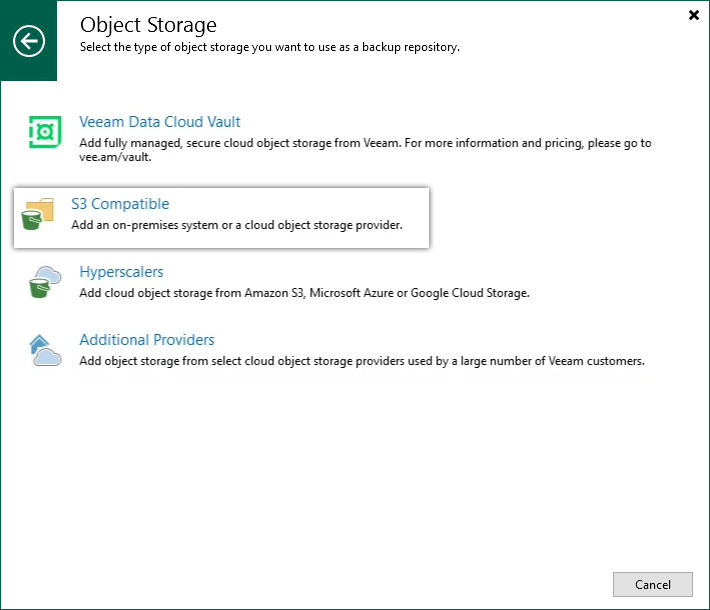
- Select S3 Compatible.
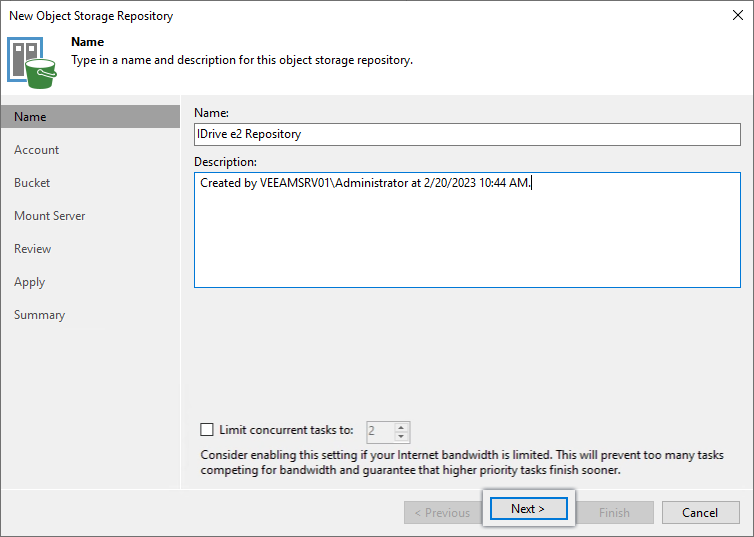
- Enter a Name and Description for the repository. Click Next.
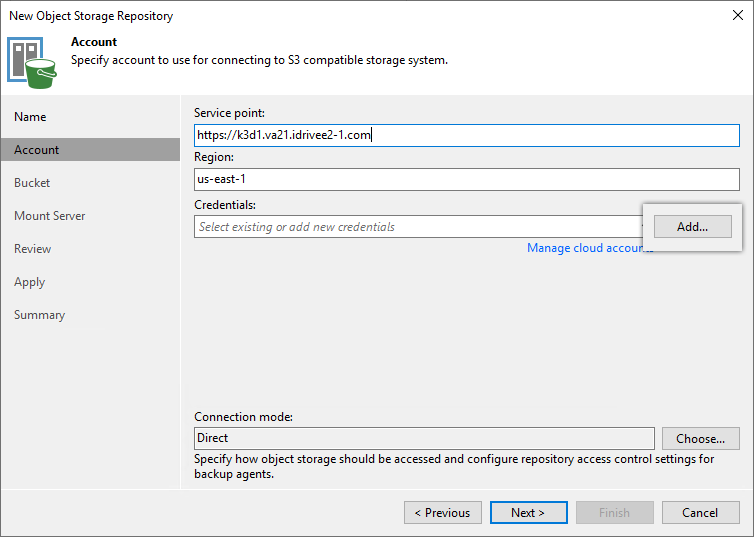
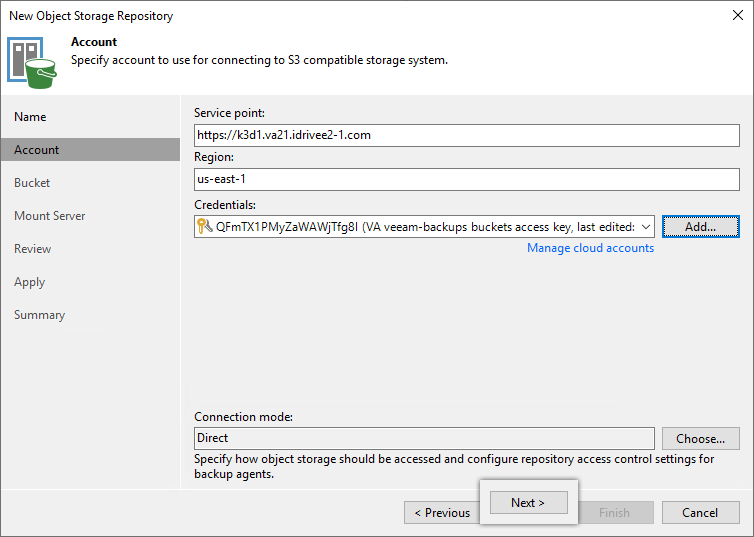
- Input the IDrive® e2 Endpoint URL under Service Point, and Region and click Add. Learn more about regions and endpoints.
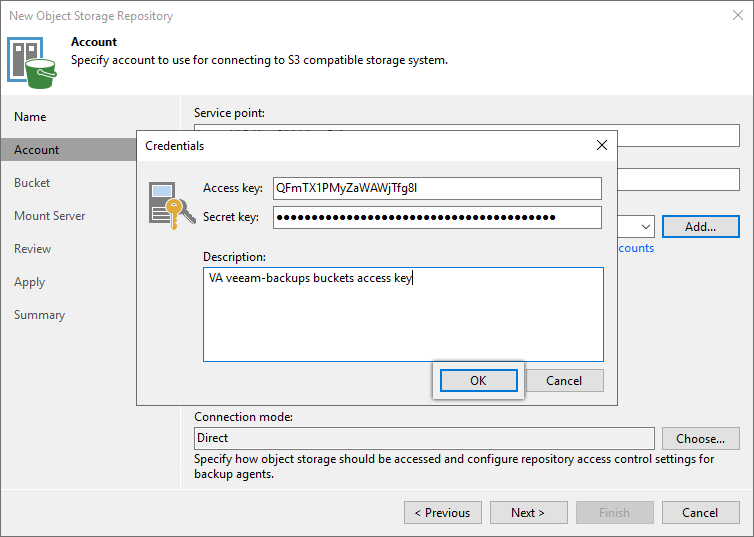
- Input the IDrive® e2 Access Key and Secret Key and click OK.
- Click Next.
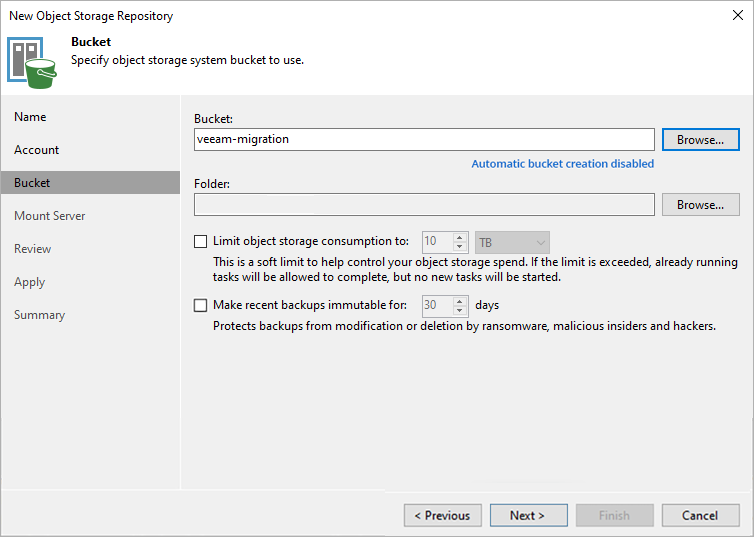
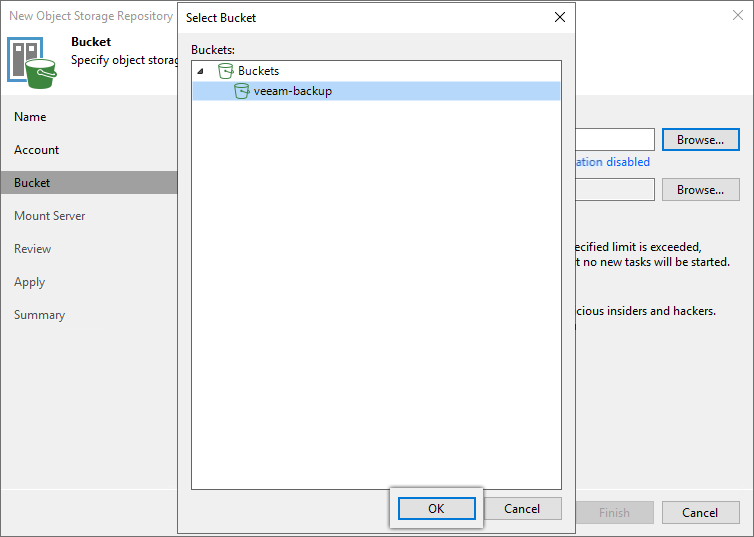
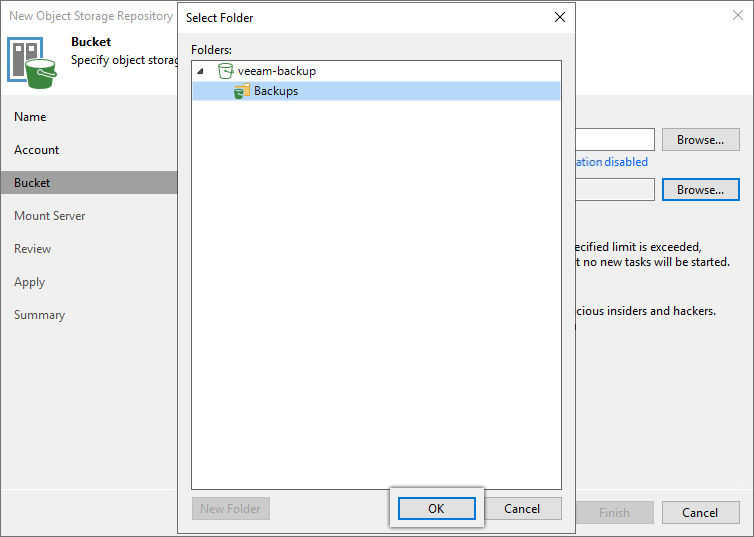
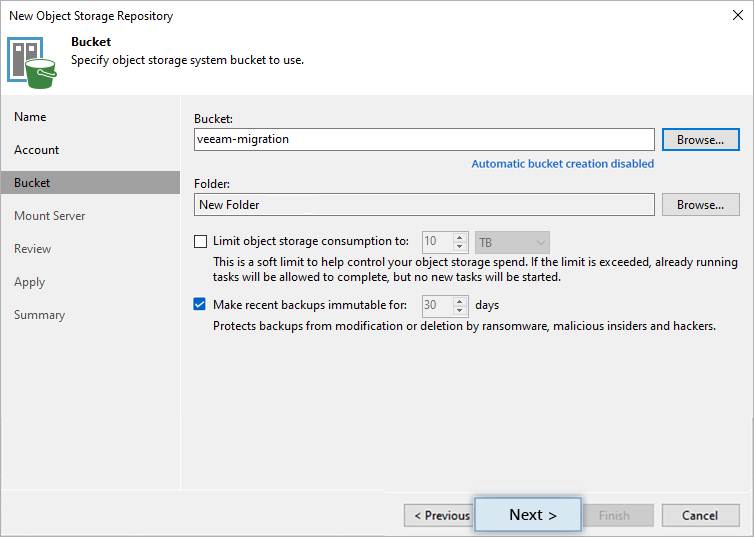
- Click Browse and select the Bucket. Click OK.
Note: Disable Automatic bucket creation enabled by clicking the link and clearing the Create new buckets automatically (recommended) checkbox.
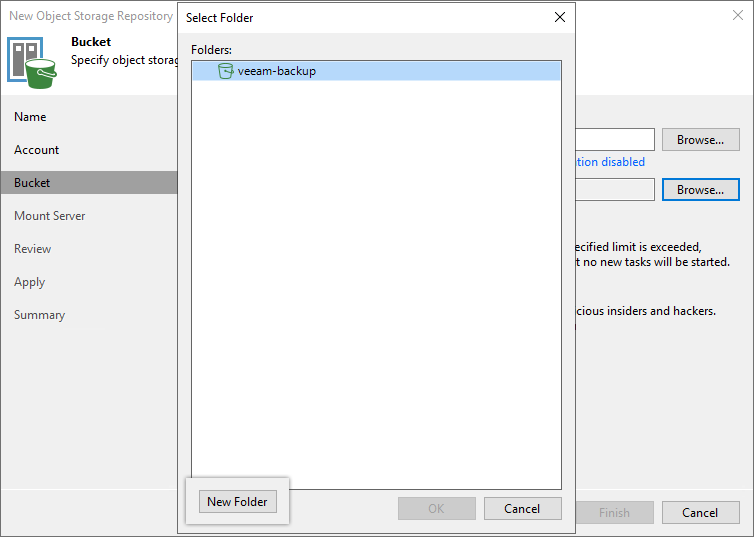
- Click Browse > New Folder. Enter a folder name, press enter key to confirm name, and click OK.
- Select Make recent backups immutable for x days checkbox to make recent backups immutable.
Note:
- We recommend enabling this feature to protect your data from ransomware.
- Automatic bucket creation should be disabled if you select existing bucket from your IDrive® e2 account.
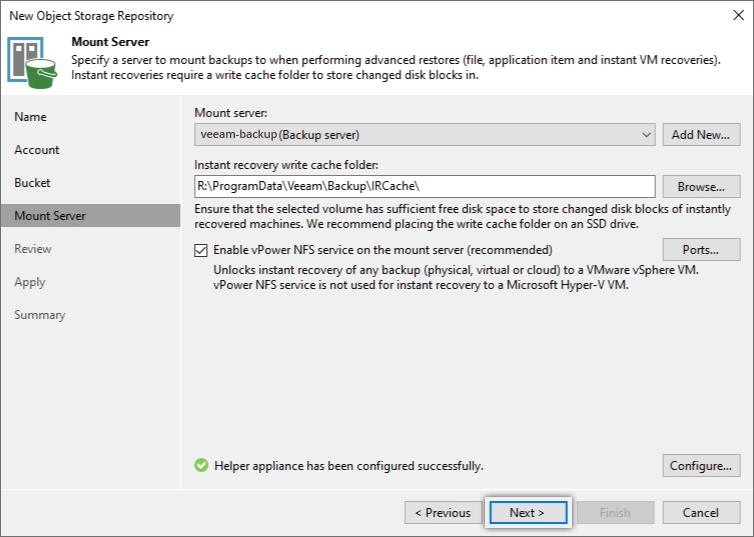
- To mount the server, click Next.
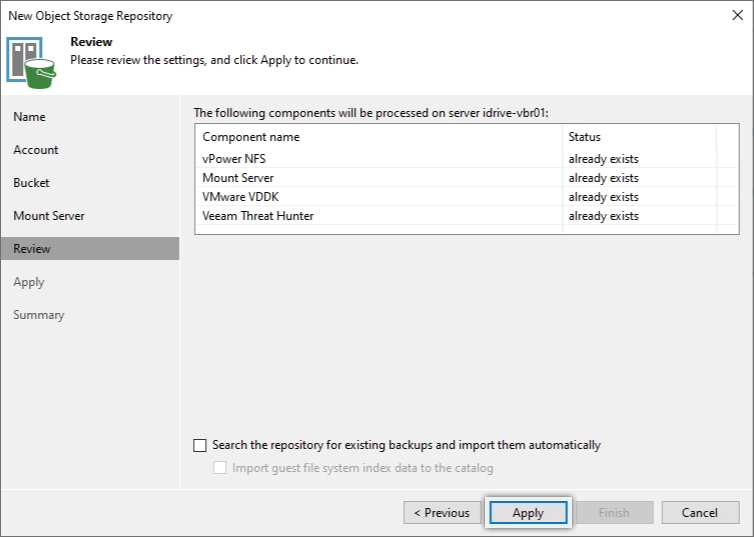
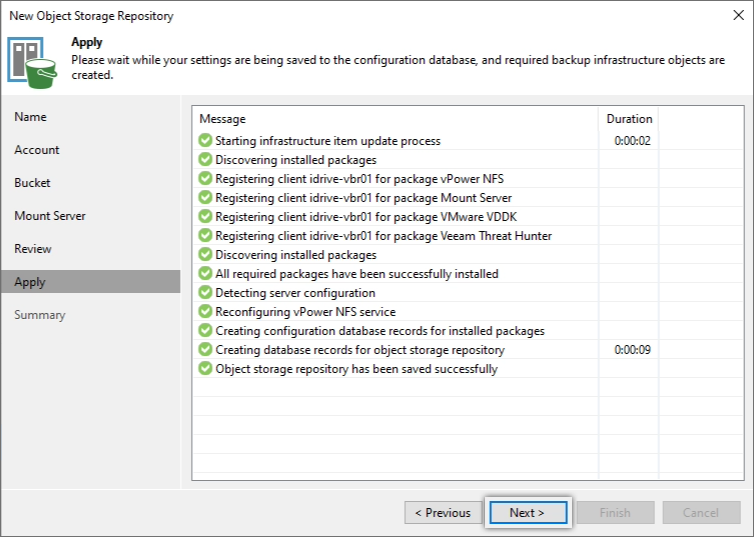
- Review the configuration and click Apply.
- Click Next.
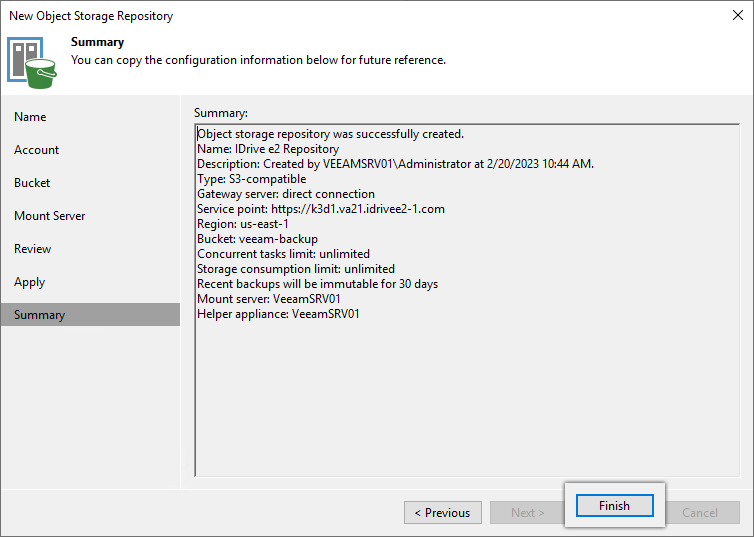
- Continue to Summary without making any modifications in the Mount Server, Review, and Apply windows. Click Finish.
The new repository will be shown in Backup Infrastructure > Backup Repositories.
Configure IDrive® e2 as a direct-to-cloud backup job
To configure IDrive® e2 as a direct-to-cloud Veeam® backup repository,
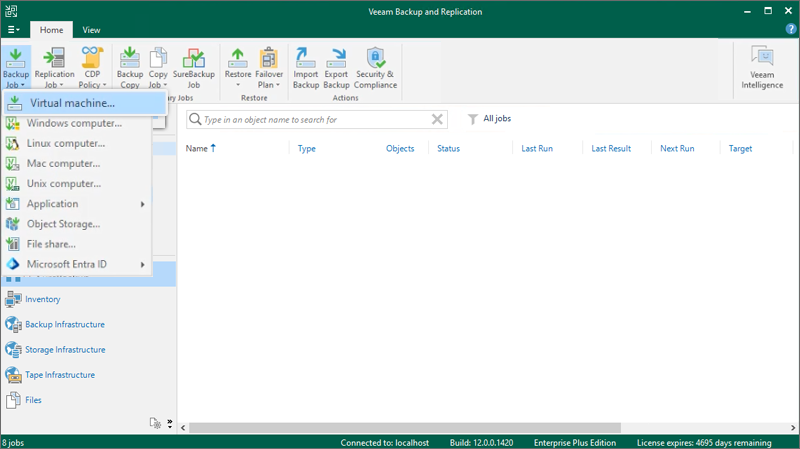
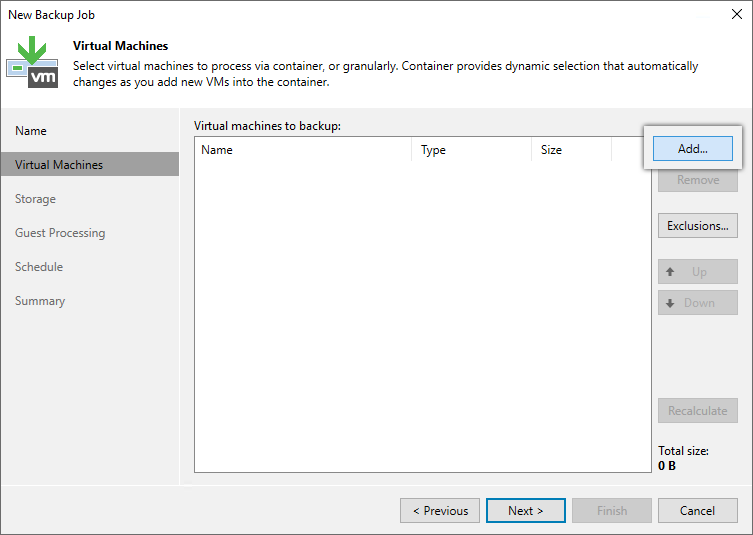
- Navigate to Home > Jobs > Backup Job > Virtual Machine.
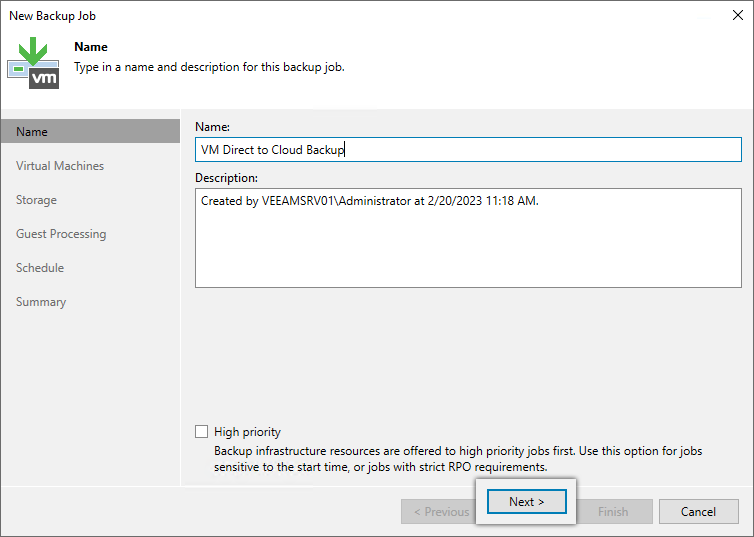
- Enter a Name and Description for the backup job. Click Next.
- Click Add on the RHS menu.
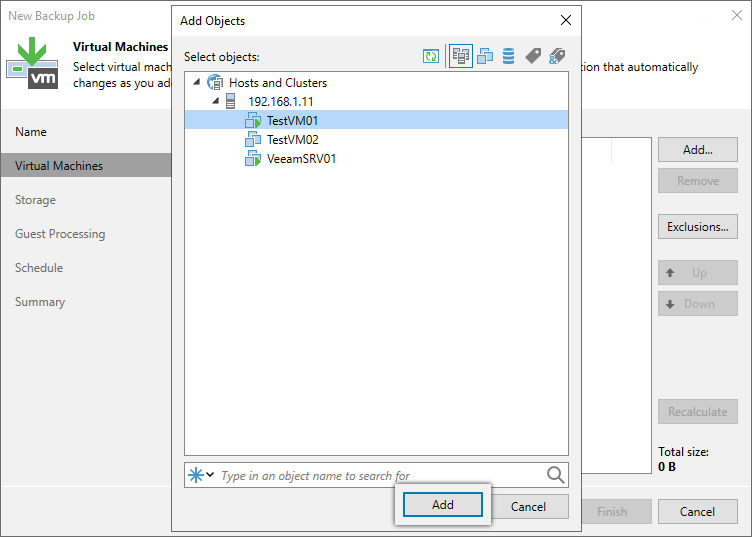
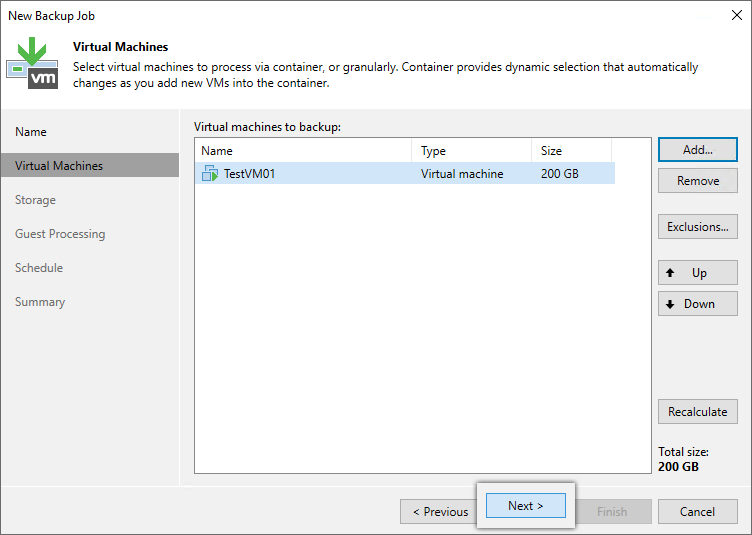
- Select the virtual machine(s) to be backed up and click Add. Repeat to add more VMs.
- Click Next.
- Select IDrive® e2 Backup Repository from the Backup repository dropdown menu.
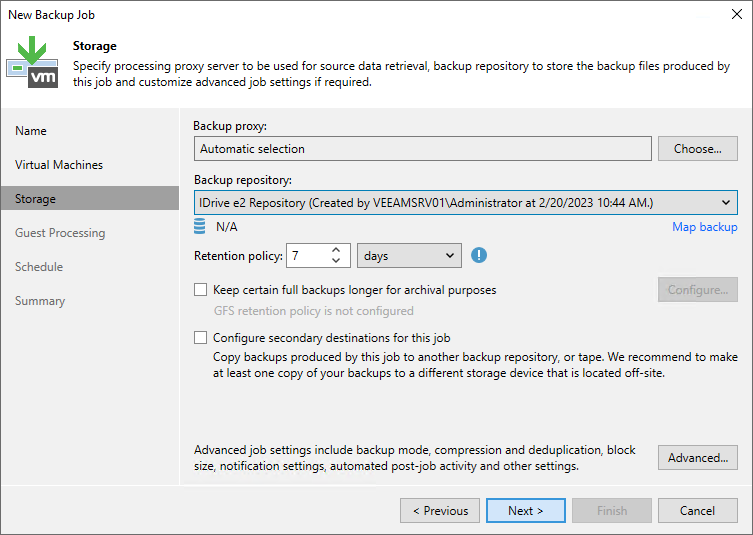
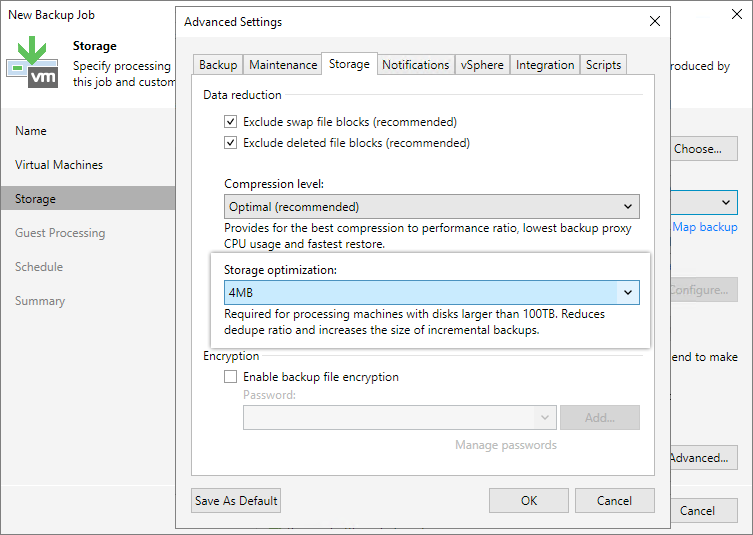
- Click Advanced and navigate to the Storage tab. Set Storage optimization as 4MB, and Click OK.
- Click Next in the New Backup Job window.
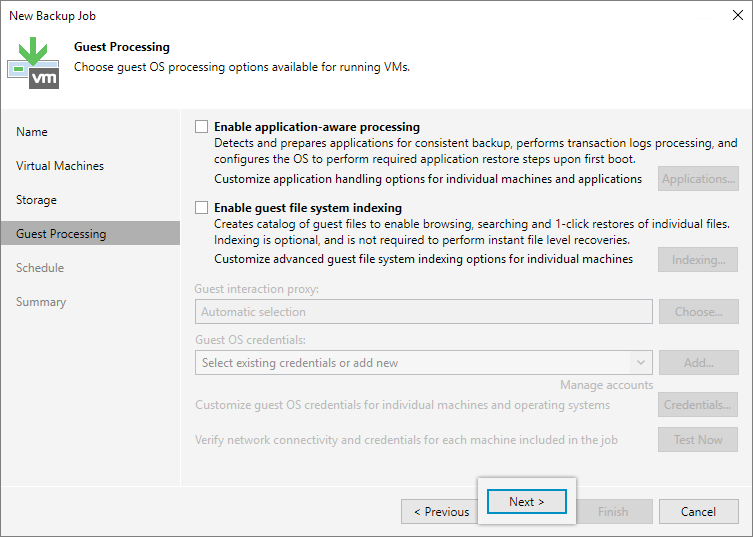
- Continue to the Schedule page without any modifications to the Guest Processing window.
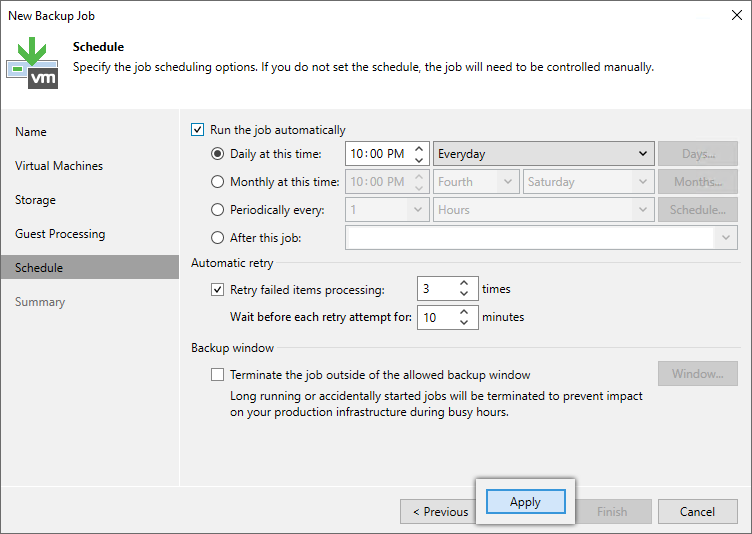
- Check the Run the job automatically checkbox and set a schedule. Click Apply.
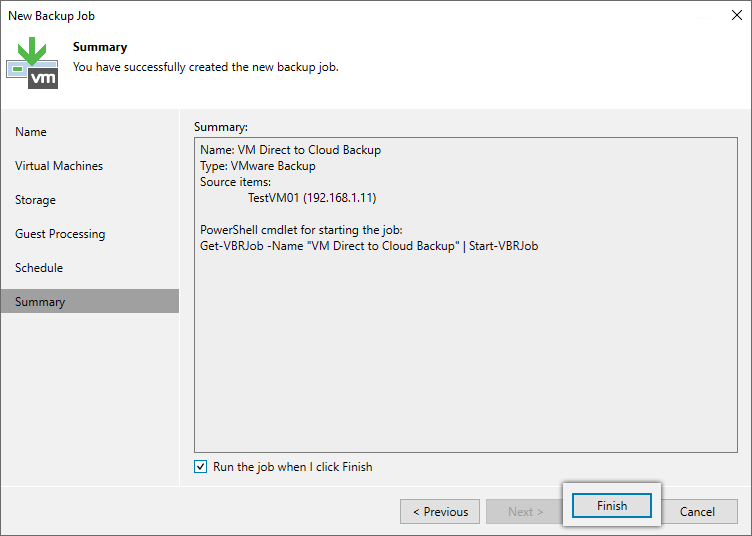
- You can, optionally, check the Run the job when I click Finish checkbox.
- In the Summary tab, click Finish. Your direct-to-cloud backup job to IDrive® e2 is configured with immutability!
Note: Data restoration is handled by your specific backup solution provider and is affected by multiple variables that are unique to your environment. For application-related enquiries/support, it is strongly recommended you seek guidance from the technical team of your backup solution provider.